Tuesday, March 22, 2011

Cool and Creamy


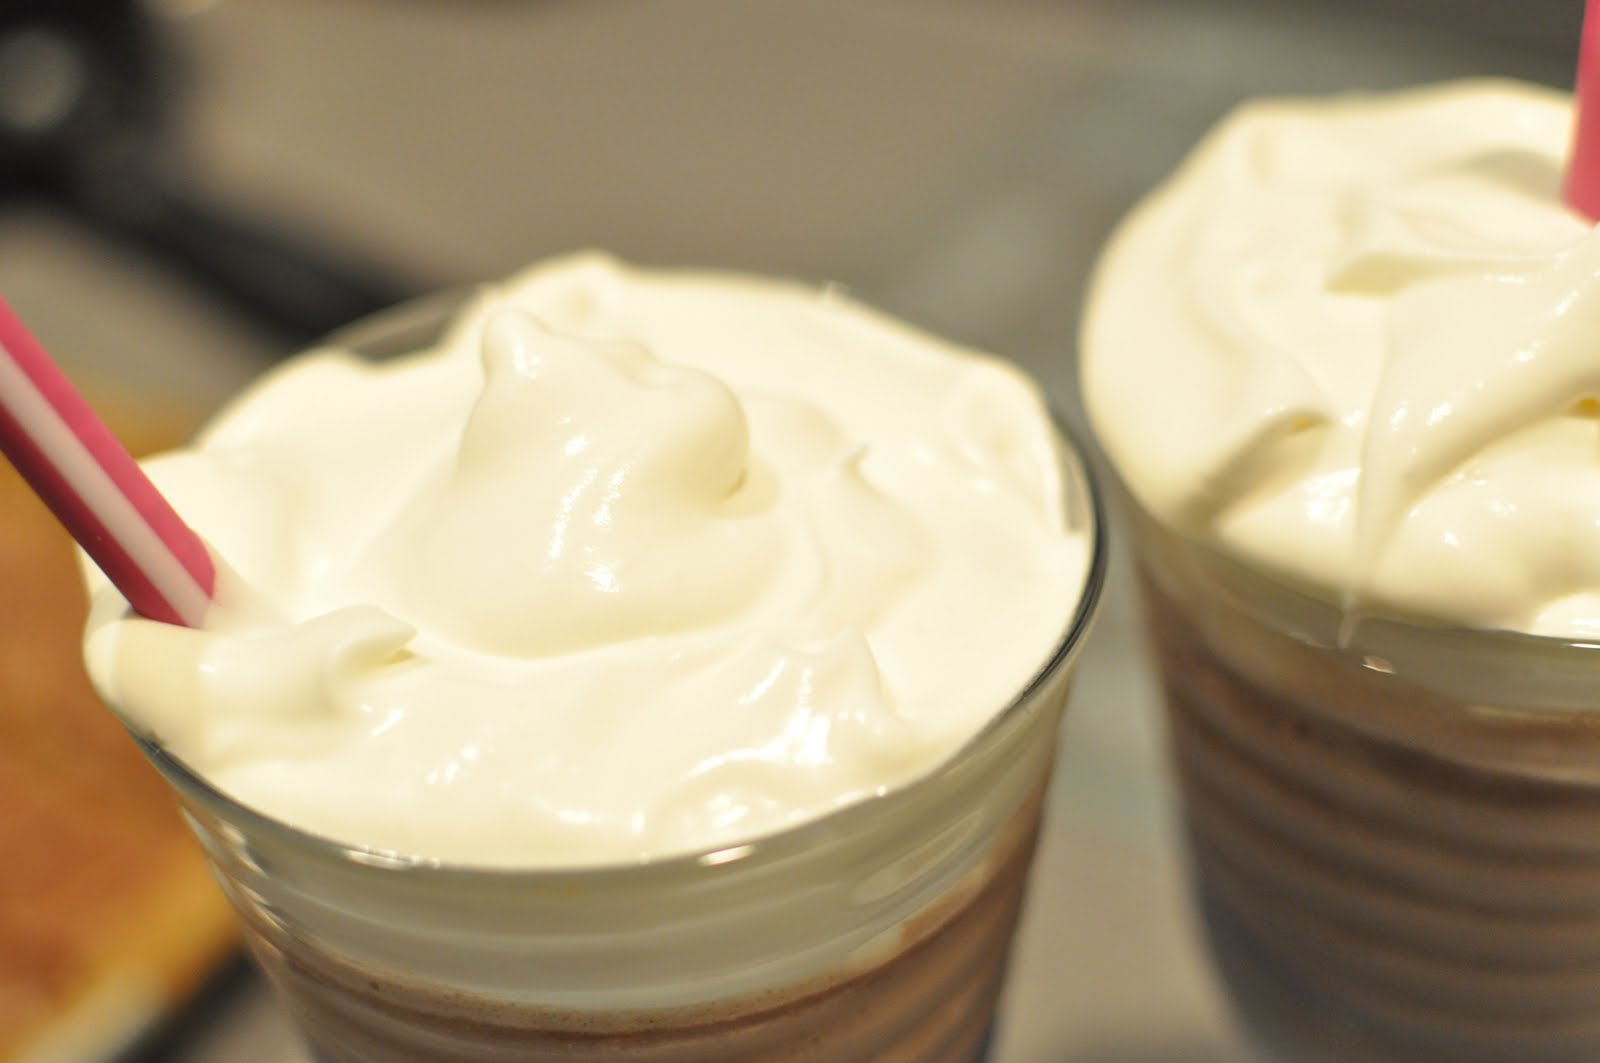
Today I'm just going to pass along a cool and creamy treat I came across awhile ago, Frozen Hot Chocolate. My hubby loves it, and it's relatively uncomplicated. It's cool, creamy, and satisfying. A nice frosty treat for a warm spring evening. Enjoy!
Frozen Hot Chocolate (original recipe found here)

  • 3 Tablespoons Granulated Sugar
  • 1 package Hot Cocoa Mix (about 3 Tablespoons)
  • 2 Tablespoons Unsalted Butter
  • ⅓ cups Semi-Sweet Chocolate Chips
  • ⅓ cups White Chocolate Chips
  • 12 ounces, fluid Can Evaporated Milk, Divided
  • 4-½ cups Ice
  • Whipped Cream, To Taste
  • Mini Marshmallows, To Taste

Combine sugar, cocoa mix, and butter in the top of a double boiler that is set over gently boiling water. Stir often until melted and a smooth paste forms. Add semi-sweet & white chocolate chips; stir. When chips begin to melt, slowly stir in 1/2 cup of evaporated milk. Stir until smooth. Cool to room temperature.

Combine the chocolate base mixture, the remaining evaporated milk and ice in a blender (you can do this in batches) and cover. Blend until smooth. Pour into frosty glasses. Top each with whipped cream. Sprinkle with additional chopped chocolate chips & mini marshmallows, if desired.

Saturday, March 19, 2011

My house smells like Buttermilk Banana Bread...

As you may know, ever since we moved to Colorado, I've had an epic battle raging with the altitude. Nothing that should come out really does. Recipes that have never given me a moment's trouble, suddenly refuse to rise. Cookies spread, cakes fall, breads remain dreadfully dense. You get the idea. One thing I've had particular trouble with is finding a good banana bread recipe. I love myself a great piece of banana bread, so I've been really bummed by this.
But guess what? I've finally won a round! I found a banana bread recipe that is to die for. And it doesn't fall and get all gooey and weird...yesssss! Score one for me! We won't talk about what Altitude's current score is...


This banana bread is lighter in both color and texture than most. I love the golden crust it develops, as well as the delicate interior. It's fluffy and delightful. Mmmm.


Buttermilk Banana Bread, from Two Peas and Their Pod

Recipe adapted from Mel’s Kitchen Cafe


1/2 cup butter, softened
1 cup of sugar
2 large eggs
1 cup mashed bananas (3 medium sized bananas)
4 tablespoons buttermilk
1/2 teaspoon vanilla extract
1 3/4 cups all-purpose flour
1 teaspoon baking powder
1/4 teaspoon salt
1/8 teaspoon baking soda

1. Grease and flour 1 large loaf pan (9 1/4 X 5 1/4-inch) or whatever combination of pans you’d like. I used a mini loaf pan and a 8 1/2 X 4 1/2 loaf pan. You can also make banana muffins with this recipe, if you wish. Set pans aside.

2. In the bowl of a stand mixer, cream butter and sugar together. Add eggs, mashed bananas, buttermilk, and vanilla until the batter is well mixed.

3. Add in the flour, baking powder, salt and soda. Mix until well combined. Divide batter into greased and floured pans and bake at 350 degrees for 50-55 minutes or until a toothpick comes out clean.

4. Let bread cool on a wire rack for 15 minutes. Loosen the bread with a knife and carefully remove from pan. Finish cooling on rack. Slice and serve once cooled.

Thursday, March 3, 2011

Uh, yum!


So I'm gonna keep this short. I may have found the best chocolate chip cookie recipe. It's so beyond good. It has a deep toffee flavor, because of the extra brown sugar in the recipe, and it has a very delicate salty background, due to the sea salt instead of table salt. I love it. They did come out a little flat, most likely due to the altitude, but they were still deliciously chewy. Love them. Try them out sometime!


*Recipe taken from Savory Sweet Life blog*


Alice’s Chocolate Chip Cookies

Makes approx. 45-48 cookies using a sm-med 2tbl. cookie scoop

INGREDIENTS:

1 cup (2 sticks) salted butter, softened

1/2 cup sugar

1 1/2 cup packed brown sugar

2 eggs

2 tsp. vanilla extract

2 3/4 cups (12 oz) all-purpose flour *If at all possible, please weigh the flour

3/4 tsp. smallish-medium coarse sea salt *please do not use table salt, the sea salt gives the cookies a nice flavor and hints of texture. If you only have table salt, use 1/2 tsp. *When using sea salt, you will get small crunchy flecks of salt when you bite into the cookie. If you do not like this taste, go with 1/2 teaspoon of table salt.

1 tsp. baking soda

1 1/2 tsp. baking powder

2 1/4 cups semi-sweet chocolate chips *I realized grocery stores sell bags of chocolate chips in 12 oz bags but this recipe really needs every last chip. Otherwise you’ll get cookies with only a few chips in each one and this recipe requires lots of chocolate to bulk the cookie up. You’ll need about 1 1/2 bags.

DIRECTIONS:

Preheat oven to 360 degrees. Cream butter, sugar, and brown sugar until it is nice and fluffy (approx. 3 minutes on medium-high speed on a K-5). Add both eggs and vanilla and beat for an additional 2 minutes. Add baking soda, baking powder, salt, and flour until cookie batter is fully incorporated. Finally add chocolate chips until well distributed. The cookie batter should be somewhat thick. Drop about 2 tablespoons of dough or use a medium cookie scoop and plop the batter onto a baking sheet lined with parchment paper. Bake for 12-14 minutes until the edges are nice and golden brown. Remove from heat and allow the cookies to stay on the cookie sheet for an additional 2 minutes. Pick up the parchment paper with the cookies still on top and transfer to a cool non-porous surface. Allow the cookies to cool on the paper for at least 3 minutes before serving. Enjoy!


Tuesday, February 22, 2011

"Raisin" Sour Cream Pie


So I was really really wanting a Banana Cream Pie the other night. There was just one problem. I'm allergic to bananas. So, I started considering what other type of cream pie I could make. I wasn't in the mood for Chocolate Cream Pie, but in more of a vanilla mood. Coconut was an option, but not exactly what I wanted. Of course, Banana was exactly what I wanted. Finally, I stumbled across a Raisin Sour Cream Pie recipe. I've always really wanted to like Raisin Sour Cream Pie, but those pesky raisins just got in my way. I really don't like raisins. Suddenly, I had an epiphany. Just leave the raisins out. Duh. I couldn't believe I've never thought of this before. So, I gave it a shot. The result? Pure, vanilla cream bliss.


With just a touch of sour cream tang. Yum yum yum. I will be turning to this pie for all future cream pie cravings. I love how the filling set up just enough to still be smooth and creamy, but not so much that it was a solid custard. The mild homemade whipped cream on top really accented the sour cream flavor as well.


Simply Sour Cream Pie (adapted from this recipe)
  • ⅔ cups Sugar
  • ½ cups Flour
  • ½ teaspoons Salt
  • 2-½ cups Whole Milk, Divided
  • 3 whole Egg Yolks
  • 1 Tablespoon Butter
  • 2 teaspoons Pure Vanilla Extract
  • ¾ cups Mini Marshmallows
  • ¾ cups Sour Cream
  • 1 whole Pre-baked Pie Crust, 9 Inch
  • 1-½ cup Sweetened Whipped Cream For Garnish
Mix the sugar, flour, and salt together in a bowl. Stir in approximately 1/3 – 1/2 cup of the cold milk to make a roux. Set aside.

Bring the rest of the milk to a boil in a 1 quart saucepan on medium-high heat stirring frequently. Stir in the roux with a wire whip. Bring to a rolling boil, stirring constantly with a wooden paddle or spoon. Remove from heat.

Temper the egg yolks by stirring a small amount of the hot mixture into the yolks. Then, stir the yolk mixture quickly into the custard with a wire whip and mix thoroughly. Put back on the heat and bring just to a bubble. Remove from heat and add the butter, and vanilla.

Stir the marshmallows into the custard. When the marshmallows have melted, add the sour cream to the custard.

Pour the custard mixture into the pre-baked pie crust and refrigerate until cool (at least 3-4 hours). Top with sweetened whip cream when ready to serve.

Saturday, February 5, 2011

Ribbon Cake

So, I saw this cake on the i am baker blog and just fell in looove with it. It's so elegant and simple and classy and beautiful! Anyway, I decided I was going to make one. I bought a decorating tip, and decided to make it for the church potluck tomorrow. A bit fancy, I know, but hey, everybody can use a little extra fancy in their lives, right? : )

I used i am baker's buttercream and chocolate cake recipes. I haven't actually tasted the cake yet, so I don't know how it turned out, but the buttercream was nice. Very easy to work with and good for decorating. She also suggests pouring some simple syrup over the tops of the cakes to help them stay moist and freezing the layers for an hour as soon as they come out of the oven.Anyway, I made the cakes (which fell, of course...I still haven't figured out how to make cakes in this darn altitude...) and frosting and put on the crumb coat.


It was looking quite promising, and I was rather excited that things were working out. There was still the lovely dip right in the middle, but I figured the roses would cover that up.


So, I was really excited to get started on the pretty roses, and I got my frosting bag all set and got ready to pipe...and I totally had the wrong tip. I'm not sure what was wrong, but it came out...very, very wrong. I couldn't find a "1M" tip at the store, so I just bought something that I thought looked right...which was apparently not. Sigh. How disappointing. Anyway, I just decided to try something else. But one of these days I'll make my rose cake!!


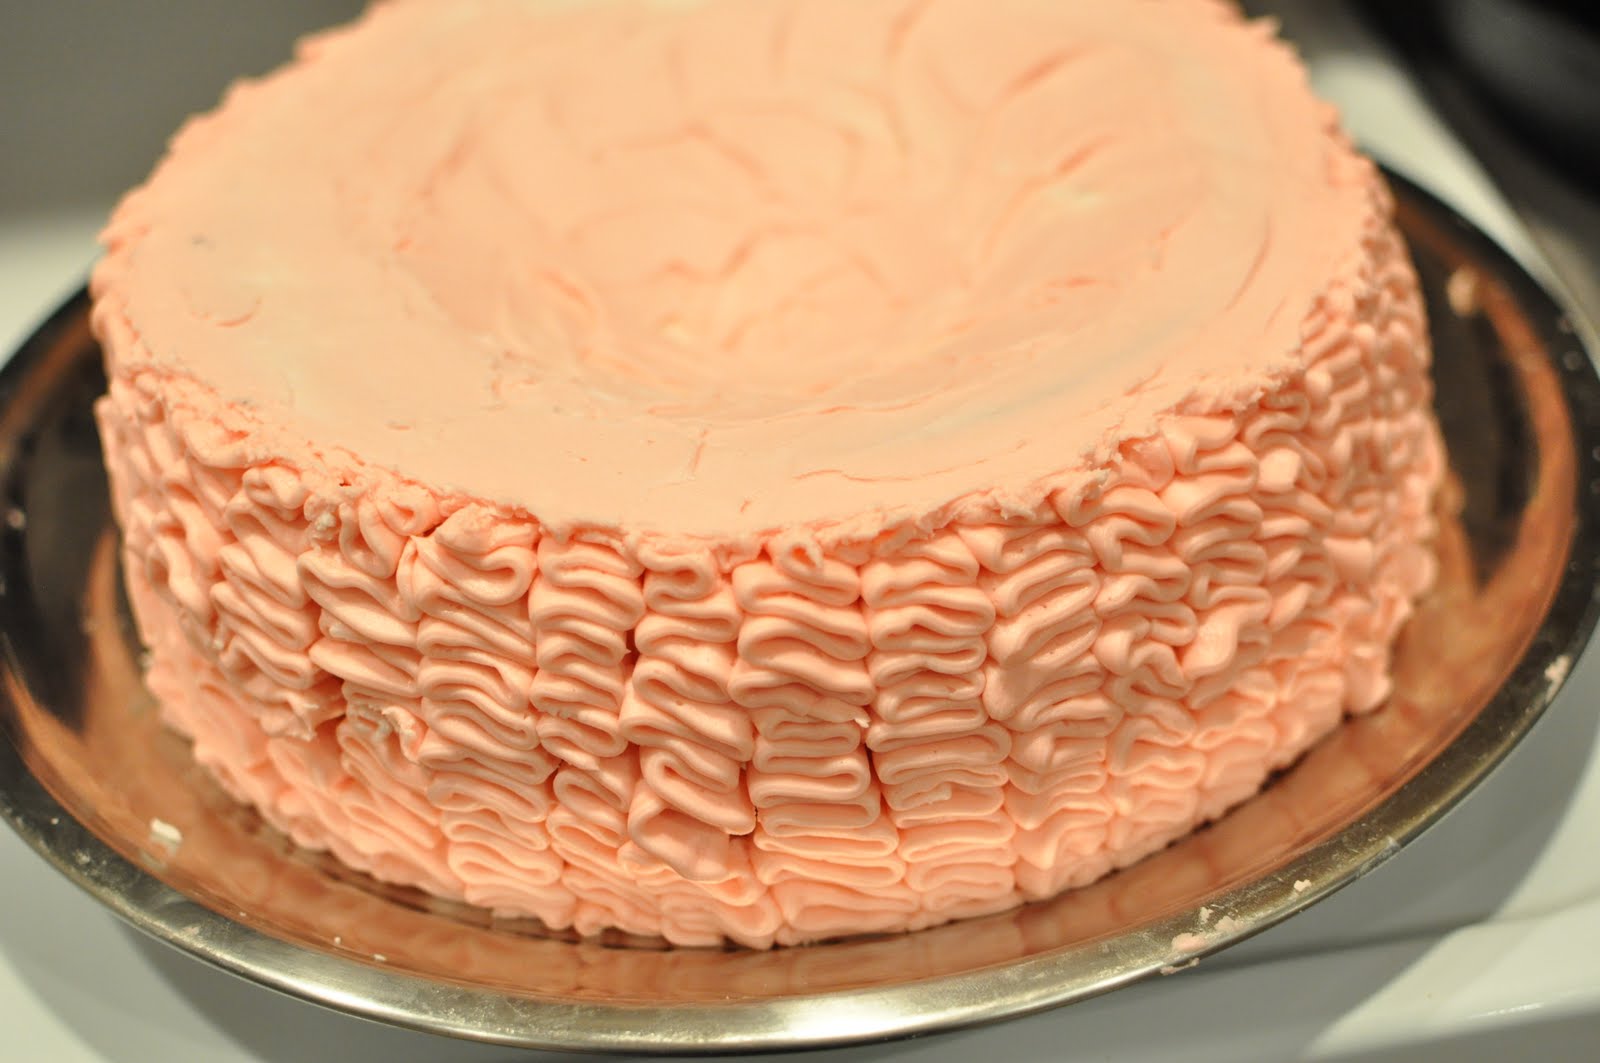
I decided to do the ruffle cake on her site (the pink, Martha Stewart one.) It didn't come out nearly as pretty as hers, but it was really fun, and I loved the process. :)


I think I could really get into cake decorating! It's just a blast! If only I can figure out the whole altitude problem...

Tuesday, February 1, 2011

Brown Sugar Cinnamon Swirl Scones


I've been on a bit of a cinnamon sugar kick lately. I tried to make cinnamon sugar bread, but that failed (I blame you, altitude...)
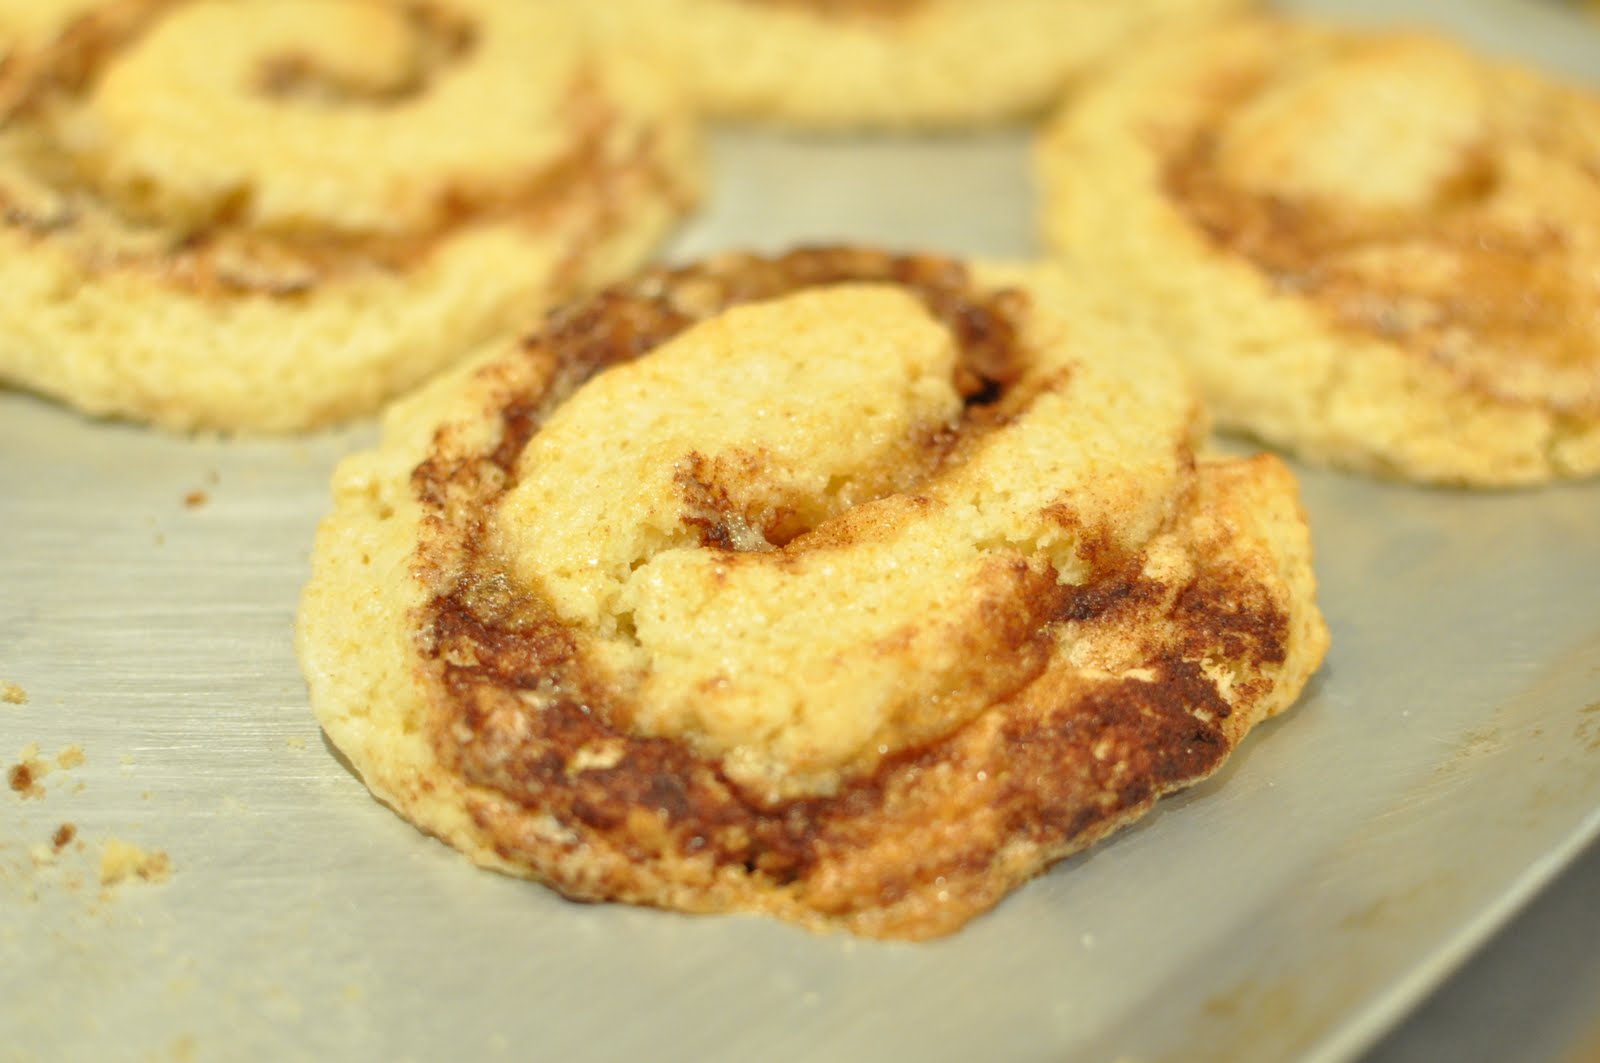
So, instead, I made Brown Sugar Cinnamon Swirl Scones. Good decision. Very good decision. They were absolutely delightful. And so very, very easy to make. The cinnamon balances very nicely with the sweetness of the scones, and the brown sugar adds just a bit of depth to the flavor profile. They work wonderfully with coffee for breakfast, after dinner as a light dessert, or with some milk for a late night snack.


Brown Sugar Cinnamon Swirl Scones
  • 1 whole Large Eggs
  • ½ cups Heavy Cream
  • 1 teaspoon Vanilla
  • 2 cups Flour
  • ½ cups Sugar
  • 2 teaspoons Baking Powder
  • 6 Tablespoons Cold Salted Butter, Diced
  • 1/4-1/2 stick of melted butter
  • 1/2 cup of brown sugar
  • cinnamon for sprinkling

Preheat the oven to 375° F. In a medium bowl, combine 1 egg, cream, and vanilla; set aside. In a large mixing bowl, combine the flour, sugar, and baking powder. Add the cold butter to the flour mixture and mix on medium speed until well blended. Add the liquid ingredients to the dry ingredients and mix on low speed until combined. Dust the counter with a bit of flour. Dump the batter on the floured counter. Knead about 7 or 8 times into a ball. Add a bit of flour if it’s too sticky. Flatten into a rectangle, about an inch thick. Brush with melted butter, until the rectangle is covered evenly (you may not need an entire 1/2 stick of butter.) Sprinkle generously with cinnamon, then with brown sugar. Roll rectangle into a log, tucking in ends to keep in the filling. Slice into about one inch slices. Place the slices on the baking sheet 2-inches apart. Brush tops with cream. Bake about 15 minutes or until an inserted tooth pick comes out clean or with a few crumbs attached.

Saturday, January 29, 2011

Some fantastically yummy pizza!!


I have to admit, I've never been much of one for homemade pizza. I think part of that is that I'm a hamburger bacon pizza kinda girl, and that's really hard to replicate at home. Usually, with homemade pizza, the only way to make hamburger pizza is to put ground beef on top. And, really, it just doesn't have the same flavor as the good 'ol hut. And then, I broadened my horizons a little bit. Who says it always has to be typical toppings? I started experimenting with things like ricotta and chicken, sundried tomato basil, and things of that nature. Mmm, suddenly homemade pizza is a lot more appealing.


This is, by far, my favorite combination yet. Fresh mozzarella, sundried tomatoes, basil pesto, and fiesta blend cheese. Simple, unique, and so very tasty. Hubby loves this one too, even though there's no meat! So it's a win, all around.


Tasty Homemade Pizza : )

One homemade pizza crust (I use The Pioneer Woman's pizza dough recipe- very simple and tasty, plus you can make it days ahead of time! Nice.)
Fresh Mozzarella Cheese
Basil Pesto
Sundried Tomatoes (I like the packed in olive oil kind)
Pizza Sauce
Fiesta Blend Cheese

Preheat your oven to 400 degrees.
Spread your pizza crust out over your favorite pizza pan (I like using a pizza stone.) Dot the crust lightly with basil pesto, and spread evenly. Next, spread with pizza sauce. Sprinkle with just a little bit of the fiesta cheese. Evenly cover the pizza with torn chunks of fresh mozzarella. Don't make these pieces too big, or crowd them too close, or you will end up with soggy pizza crust. But don't skimp yourself either! ; ) Next, sprinkle with sliced sundried tomatoes, then top with another layer of fiesta cheese. Mmm...pop it in the oven for 15ish minutes, or until the crust is golden brown and the cheese is bubbly. Enjoy!